As out print information pack will be based on all of the different print processes Ellen and I took it upon ourselves to book a second session with Matt who carried out our laser induction last week. We wanted some guidance where embossing is concerned, as we were unable to book in at Vernon Street. We booked an hour slot and had a machine each with one to one help. I really enjoyed this morning's session and learnt a lot. I most certainly became more confident with using the equipment as well.
Initially, I was going to prepare some text to laser cut, however I thought it would be more beneficial to wait until this morning and get some advice on the best way to save the work to make it easier for the laser cutter to understand.
I chose two different sans serif fonts and was told to do them white on a black background. This is so that the black will cut out and leave the letters sticking out far enough to use later to emboss.
The reason behind me using the text 'turn over a new leaf', is because initially when I carried out my experiments for this brief using fruit and leaves, the idea of leaves came from the quote 'take a leaf out of my book' which came to me when I was discussing ideas with my mum. I altered this phrase slightly today when I was using the laser cutter because I felt as though 'turn over a new leaf' was perhaps more fitting and more condensed. This is something I need to consider but it will become clear to me when I start designing properly.

Ellen on the other hand did hers the other way, however it is important to make sure that when doing black on a white background to alter the settings slightly so that the laser knows to cut it out using the 'negative' setting.

Having already been told how to set up the laser cutter before now I seemed to remember all of the different stages. First of all we set up the document on the computer, and then we turned the machine on to prepare it so that it was ready to cut. Matt supplied us with small pieces of wood to work with and produce some samples.

Although it isn't very clear from this image, this is what it looked like whilst the laser beam was burning through the wood using the raster setting. I found it fascinating to watch. I had changed the settings on the computer to 0.1 which meant that the outcome would be more accurate and precise, and less spaced out in comparison to leaving it on the default setting of 0.2.

Once I had used sand paper to remove all of the excess dust from the wood, this is what my block of wood looked like, ready to use to emboss. I decided to use the text 'turn over a new leaf' as I think this is potentially what my information pack is going to be called. Or 'take a leaf out of my book'. I haven't yet decided. I was happy however with the outcome of both of the examples below and would most certainly love to experiment further in the future.

It was then time to emboss using our blocks of wood. We went to use the facilities in the screen print area, where they had the correct equipment which was necessary to emboss. Having never done this before it was hard to know if we were doing it correctly so it was simply a case of trial and error.

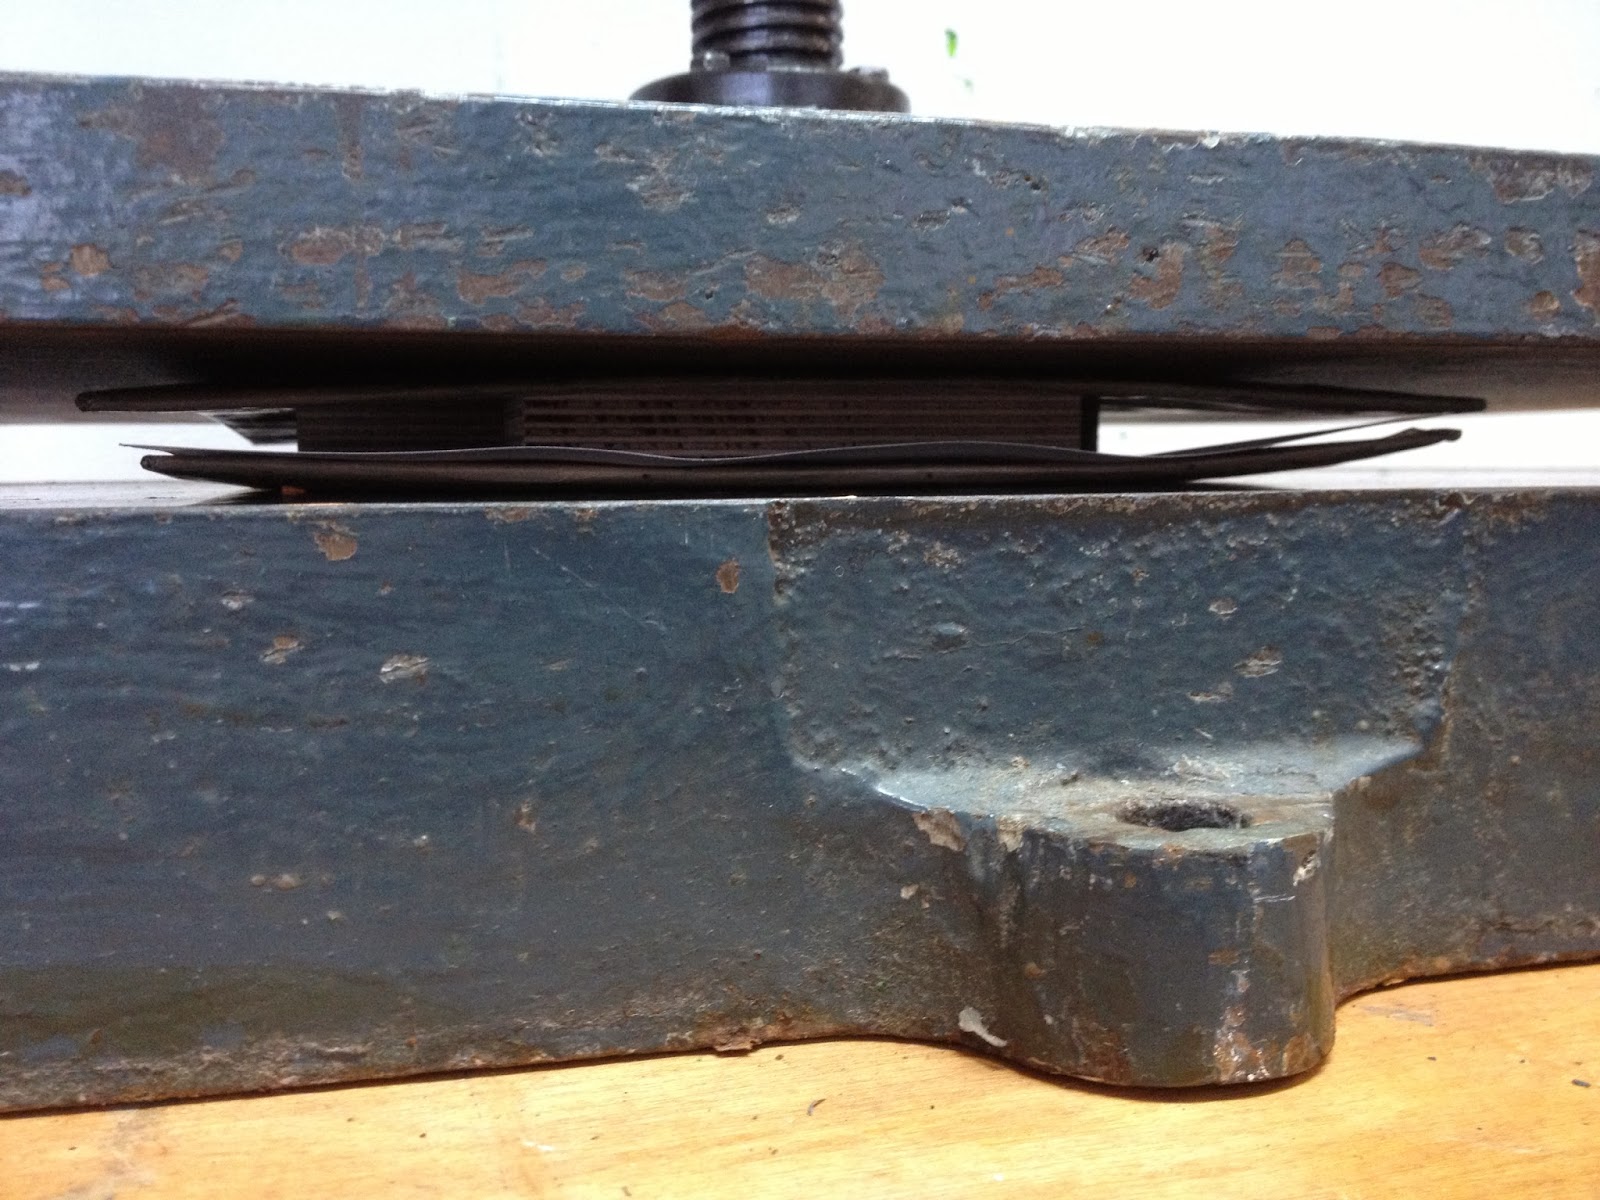
This is what it looked like once our blocks were under the press, along with two protective pieces of card at the top and bottom to stop the paper from ripping or becoming damaged at all in the process. We used newsprint for our first experiment, however it didn't turn out very well.
Below are what all of our wood block tests looked like. It is quite obvious to the eye that the top one was produced at a faster pace, using the 0.2 setting on the computer. This meant that the wood wasn't cut away as deeply. However it was still very effective.

We clamped the paper down and waited for our result. We were quite unsure whether or not it would work at all in fact as the pressure from this machine was perhaps not as strong as it could have been.


This is the outcome front and back of our work. The edges of mine seemed to work better than the area in the centre, however it could have been much more successful.


Luckily I was able to ask for some guidance from one of the tutors. They advised that we bought a piece of handmade paper instead, so we did. We cut it down to a more applicable size. Then I dampened the paper and we first of all placed a sheet of tissue paper down and then the paper on top. This allowed any of the dirt carried on the block to rub off on the tissue rather than affect our design.

We then used the press again to see whether we could produce a more successful outcome.

By make the paper wet it worked much better. However it still wasn't as crisp as we had hoped for. We were told however that the print press found at Vernon Street is more suitable for this as it is a lot heavier and therefore increases the indent. We therefore decided that we would carry out further experiments with this next week, as I feel as though this is something I would like to work with for this brief.


No comments:
Post a Comment