Whilst I was at home over the weekend I managed to collect a lot of primary research (photography based), a lot of which helped me to make some informed decisions about this brief. Leaves link directly to nature, which in turn links to the environment, which then relates to an eco-friendly environment and potential idea relating to design.
I therefore thought a lot about the primary images I had collected and had a discussion with my mum about all of my ideas. Speaking out loud really helped me to organise my thoughts and getting feedback at the same time was extremely useful, quite like having a relaxed crit.
After much discussion I considered how I could incorporate nature/an eco-friendly element in to my work, and I instantly thought of leaves. My thought process then got progressively deeper and deeper and I started to think about making my own ink out of leaves. I did some research online to find out how I would do this and posted it on my blog for future reference. It had started raining heavily so I waited until another day to carry out this experiment.
The main reason I thought of using leaves however, is because as I was discussing my ideas, I came up with the idea of 'take a leaf out of my book' and perhaps using this on the front of my print pack in some way, essentially providing the reader with a guide to print, whilst giving them advice throughout the pack of how to be eco-friendly whilst designing. As I feel it is important to be aware of how to produce sustainable design to be a successful designer in the present day. If we don't start making the changes now, then the situation is simply going to deteriorate and more and more natural habitats are going to be ruined because of all of the harmful methods we currently use to produce our work.
This is why using recycled papers, fruit or nature, and hand crafted work is a clever way of portraying how everything is possible when stripped down to the bare basics and knowing how to create something without constantly relying on endless amounts of technology.
Whilst researching however, I found out that ink can also be created quite effectively using fruit and vegetables. Impatiently, I decided to carry out a very 'home made' experiment to get the ball rolling with the design process. Below is a photograph of all of the equipment I used. As I didn't have a specific stamp I used a weight. This weight was not only used to print but I also crushed the raspberries initially with a spoon followed by the weight. As I was at home, I didn't have a large variety of stock to experiment with, so I started with A4 plain white paper.


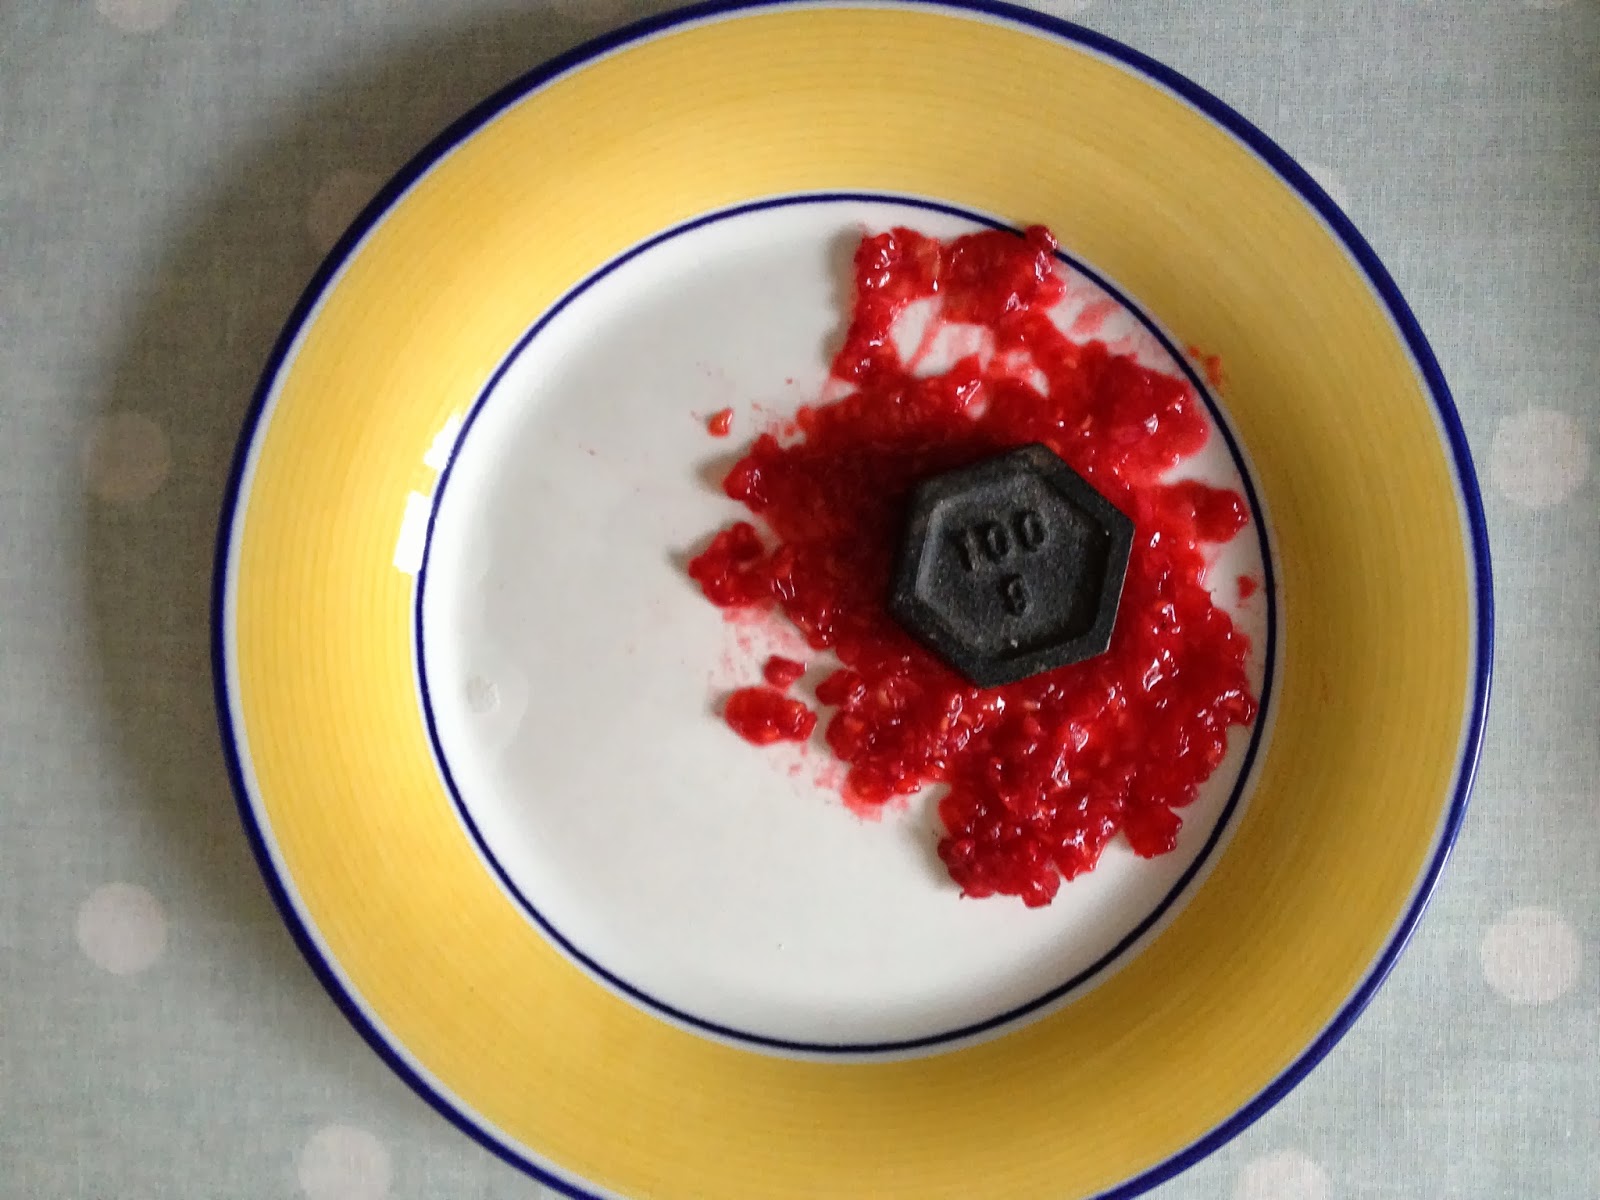
Using the weight, I placed it on top of the raspberries to start with and then transferred the print to paper. It worked surprisingly well, however it did show up all of the textures and seeds within the raspberries which had obviously not been crushed or removed before printing. This gave it an added organic feel however, which I personally quite liked.


I then attempted to make a pattern using the same method, however the weight didn't work well every time to produce a successful print. I think the second example below the top print was a lot more successful without all of the seeds in the way.

I then printed on to a brown envelope. This wasn't very successful though although it looks quite effective on this photograph. As it dried it faded in to the paper and didn't stand out very much. Overall, I was happy I had experimented with food just as an initial start, but I wouldn't use this method for my final piece of work I don't think, especially as raspberries don't really have a relevant link to my design for print pack.

Using the research found on my design context blog I followed instructions from an online website. The website explained how to use natural materials to produce ink. To start with, I chose to use leaves for this experiment and I collected them on my way home from uni one day.

I then prepared the leaves and finely chopped them as the instructions said.


Once I had finely chopped them up, I was able to place them in a pan and cover them in just enough water, then placed them on the hob ready to boil. Although the instructions said to do this and then allow it to simmer for 15 minutes, I found that the water was absorbed quite a lot by the leaves themselves, perhaps because I had it on a high heat which was then hard to reduce as it takes a while for our hob to cool down.

Once I placed them in the pan with the water this is what the mixture looked like.


Once the water had been absorbed it looked like this. However I still used it to create ink and poured out any excess water in to a glass to see how much I had made.

It turned out that it had produced very little ink.


I didn't want to just give up at this point though, especially as experimentation is all about trying to find the best solution. This is why I continued to add water to the pan and then boil it again until more ink was produced. I could have easily continued to do this and remove as much of the ink from the leaves as possible. However, now that I am aware that this process works, I will be able to carry it out again in the future and if necessary, simply continue to add water until no more is produced.


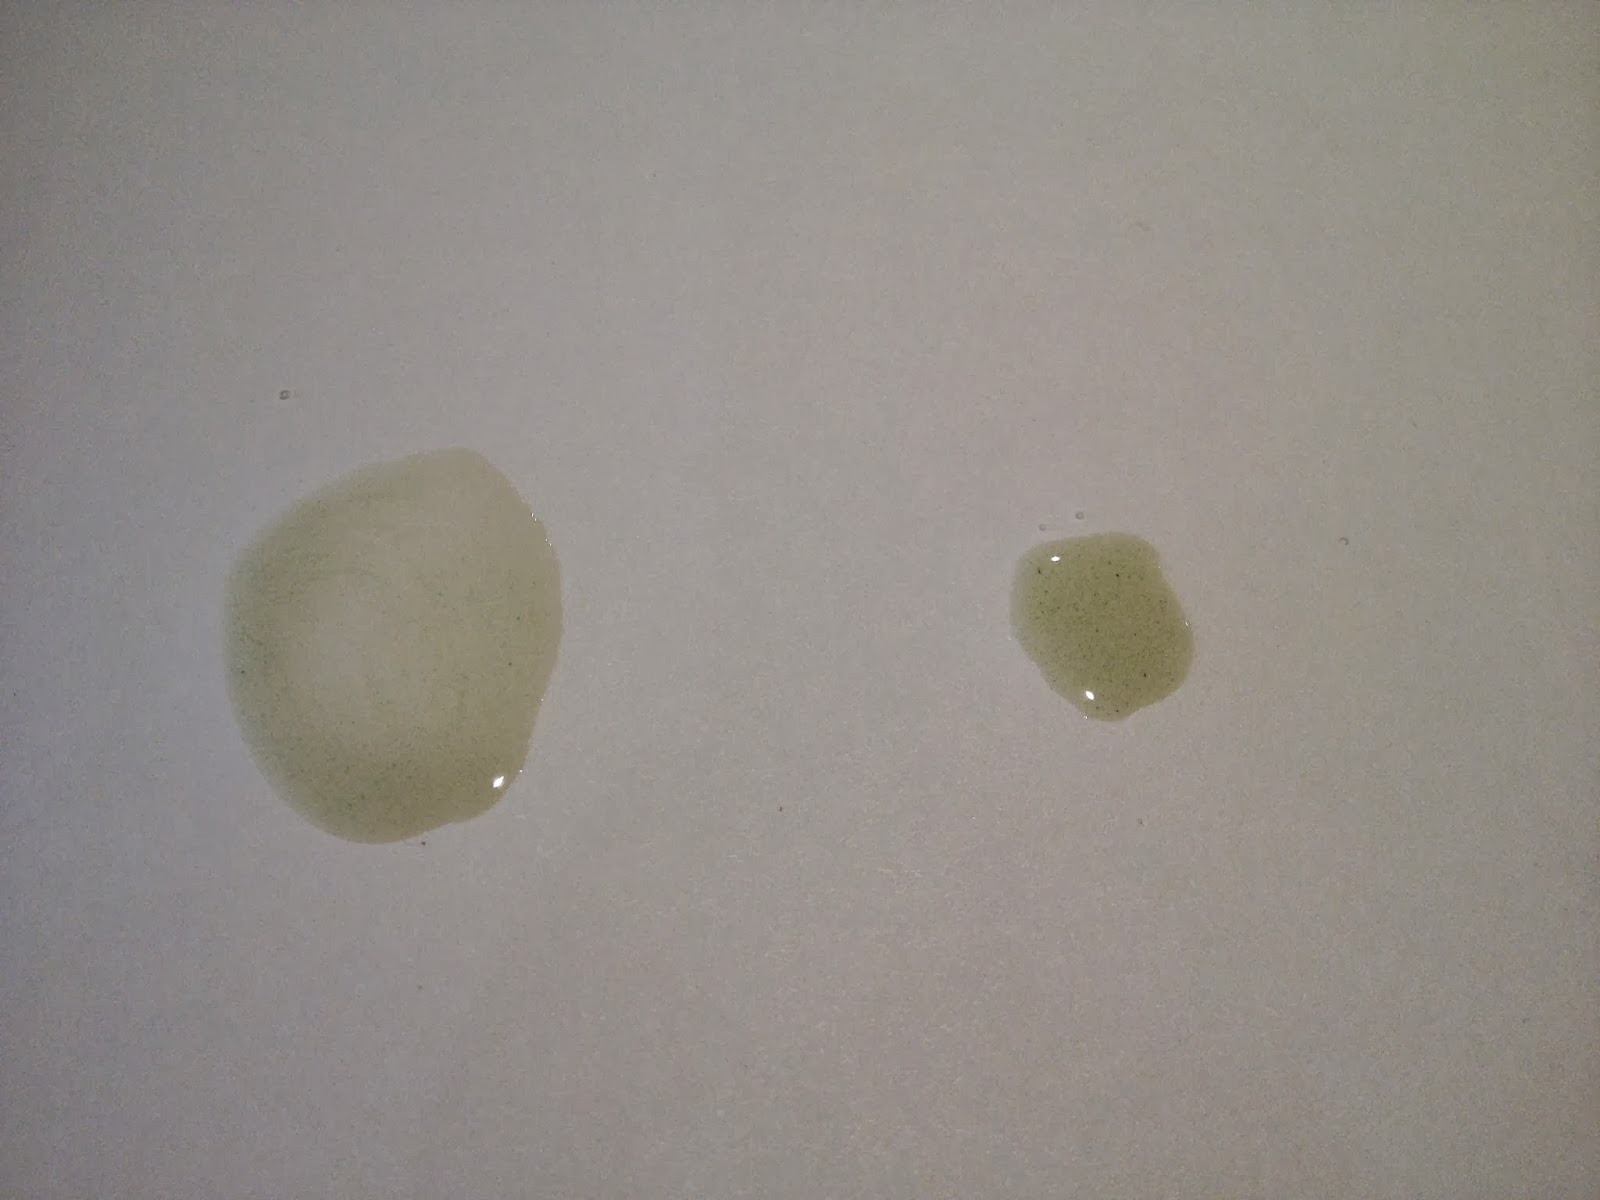
Once I had produced the ink, photographed above, I was then ready to transfer it to paper. I tore off the cover piece of paper from my new notebook, as well as an A4 piece of paper.

Using a knife I dipped it in to the glass and simply placed lines of different widths on the piece of paper. I did this to see whether it would effect the end result.

Once I had printed on to A4 paper I then decided to use the brown. I quite like the result on this stock, however it does make the green appear to be a much more subtle shade against a dark background. Essentially, I was able to experiment a bit with stock within this experimental process, however I should have really used hand made paper which may have allowed the ink to soak in a bit more successfully and appear to be a darker shade of green.

I then used a scrap piece of cream stock and put two circles of varying sizes on it then waited for them to dry. Overall, I think this was the most successful stock to use in this case. However I am not sure whether this would alter depending on the quality of paper I use. The next time I experiment with this I would like to use a wider variety of stock as well as figure out how to alter the substance slightly, as I feel as though it needs to be thicker and more applicable. For example, if I was to design a pattern and use the laser cutter to cut it out as a stamp, I would then need to dip it in to the ink solution, at this point in time with the ink being so watery and thin, this wouldn't work. Whereas if I was to add some glue perhaps or another thickening substance then it may be more likely to work and produce a successful result.
If this doesn't work however, I am going to have to re think my idea and perhaps use this liquid solution to alter the colour of hand made paper, and then use embossing to produce the desired effect (whether it is an image or typography I am wanting to produce).
If this proves to be too much of a task to work with all the way throughout the pack, then at least I can use it for elements of it, allowing me to then talk about it at the end of the information pack and explain how eco-friendly processes have been used to produce this 'manual'. I could also consider perhaps using paper cut/laser cut techniques instead.
I think most importantly, it is crucial that I make it as eco-friendly as possible in terms of the materials used. Whilst at the same time portray the processes I enjoy through using them to create the information pack itself. I wouldn't want to use all of the processes because I just don't think this would look right. I would prefer to use hand rendered illustrations to explain all of the different print processes instead.

No comments:
Post a Comment