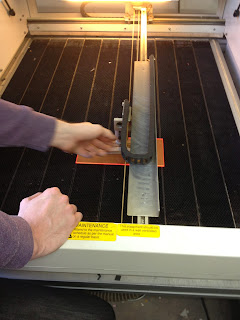
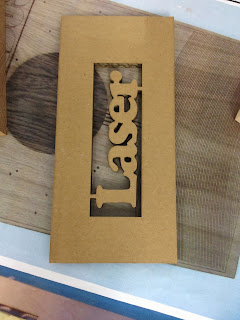
Today we had a laser cut session which I found really beneficial to me. I have already used this method of production before, however it was worthwhile to refresh my mind, especially as the laser cutter was slightly different to one I had used before. We were given a hand out with the main procedures so I tried to listen and focus on getting used to the order of things during this session, as opposed to writing everything down. I did however make some notes which I thought would be helpful and relevant to know.
First of all we were taken through all of the materials we can and can't use. As well as any other tips:
- Don't cut metal
- No mirrors
- Reflective acrylic needs to be upside down
- You can etch the surface of glass but can't go through it
- Can use grey lino
- Can't use the brown lino
- The laser is reflected by mirrors to send the beam to cut work
- Move laser to the bottom left hand corner using arrows
- Then turn on the computer and use Aps ethos software
- Click OK
- Then choose between cut through, engrave, kiss cut and raster
- Select from the different colours on the menu
- There is no colour for raster so we have to set that up differently
- We have to click on object properties
- Go to engraving properties on the right hand tab
- These are the settings we use, we have to tick the check box then click apply and ok
- We then have to tell the machine what material we are using
- Click on output and material manager and set up
- Then use material tab
- Then output and cut design
- Then click material manager to double check it
- The bed is 72x93
- Copy and paste illustrator file to a new page then click on laser effects
- Go on engraving properties
- Change it to 0.1 so that the lines are closer to each other
- Grey levels the higher the more detail
- Click negative button as well
- Hit apply and ok
Below are the images of the acrylic being positioned correctly. By first of all loosening the screw to allow the wooden block to slot underneath, which allows there to be an accurate space in between.
Below are all of the images showing which materials we can use on the laser cutter and the effects that they have. I think that this would be a lot of fun to work with.
When using reflective acrylic it is important to put the reflective side face down. I really like the effect this has and also love how it can be used to create jewellery which is something I am most definitely interested in.
I really like this acrylic example, as it is so detailed. We were also told during the induction that it is possible to melt this in the oven for a period of time to remold it into a certain shape.
I thought this was particularly impressive, by reducing the spacing on the computer it allowed this representation of the Mona Lisa to be produced.


No comments:
Post a Comment